
This is for sugarbumpkin, who asked me to do a tutorial after my Holiday Mani's post. Although it's not a replication of those particular mani's, the technique is the same.
Since this is my first tutorial, please bear with me. I'm not sure if I'm doing this right but I hope it's clear enough.
For these nails you'll need a base shade, a darker complimentary shade, a black nail art pen, a contrasting nail art pen, a Konad plate & a bottle of the black Special Polish.

Step 1.
Apply your chosen base shade. I settled on China Glaze's OMG & applied two coats to get good coverage.
 |
| Base shade - OMG |
Step 2.
After your base shade has dried, use the Konad plates & Special Polish to create the base pattern over the entire nail.


Step 3.
Using the black nail art pen, draw two diagonal lines on each nail. These lines should be drawn near the nail edges to leave a centre stripe of the base shade & Konad print that will remain visible.

 |
| Diagonal stripes drawn on each side of the nail. |
Step 4.
Using your chosen darker shade, fill in the sections inside the diagonal lines you've just created. This time, I used a clean brush from an old nail art pen to do this & had better success than I would have if I'd used the brush in the polish bottle.
My chosen shade for the darker sections is Glitter Gal's Black holo polish.
My chosen shade for the darker sections is Glitter Gal's Black holo polish.
 |
| Diagonal outer sections filled in. |
Step 6.
Once the small outer sections have dried, you'll need your contrasting shade of nail art pen. For this mani, I chose to use a hot pink glitter.
 |
| Pink Glitter - a bit washed out, it's much brighter in person. |
With your pen, draw lines on the start of the dark diagonal sections you just created. This helps the lighter, centre section pop a little more.
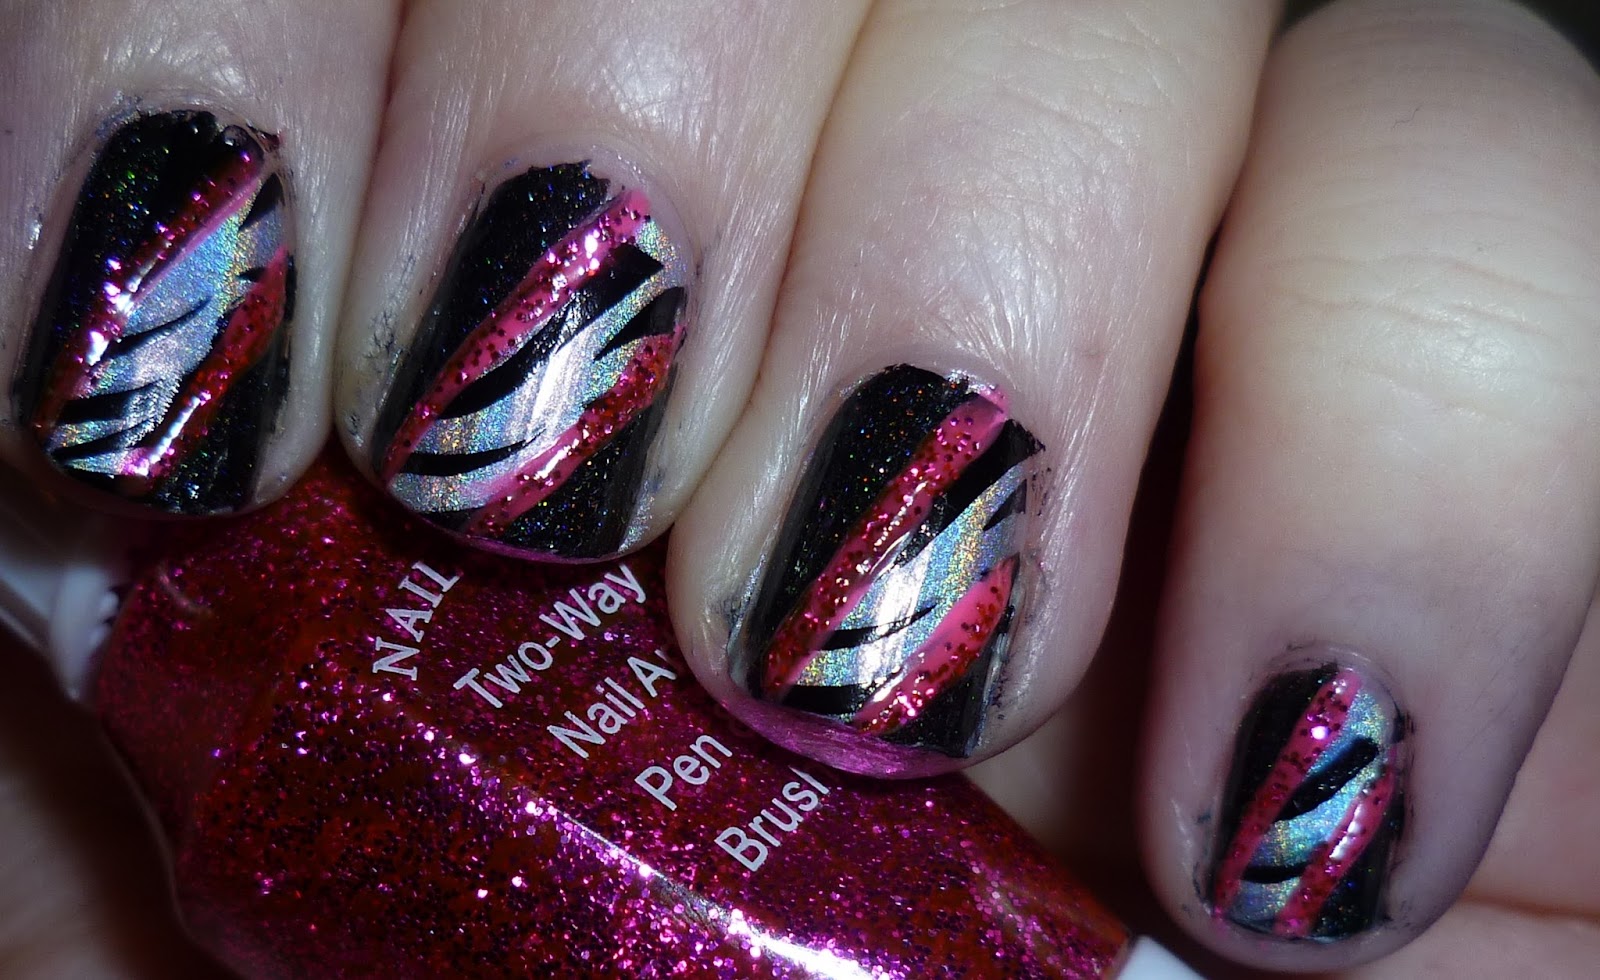 |
| Pink glitter lines added |

It's a shame that the pictures have washed the pink glitter out somewhat, it looks much more solid & vivid than shown here.
I hope that this was clear enough & will be easy to follow for anyone that wants to try this. If you do, I'd love to see your take on this mani!
Thanks so much for this tutorial! I don't know if I've said this already but I only started playing with nail polish a few months ago when I started my cosmetology courses, and I'm desperately behind because I don't know anything about nails. You have some really great stuff on your blog, and I'm looking forward to reading more. Thanks again!
ReplyDeleteNo problem at all! I just hope it was clear enough, tutorials are new territory for me.
ReplyDeleteI'm not an expert in the nail-department myself, it's all pretty much trial & error. Sometimes things go wrong but occasionally I try something & love the results.
Thank you so much for reading. It's good to know my random witterings are sometimes useful. :)